Maintaining the cleanliness of your guitar is essential for ensuring its longevity and optimal sound quality. Over time, dust, sweat, and grime can accumulate on your guitar’s bridge, which can affect its tone and playability. To keep your guitar sounding its best, learning how to clean a guitar bridge is must. The process is straightforward and requires just a few tools and some patience.
When cleaning your guitar’s bridge, it’s important to use the right materials and techniques to avoid any damage. Whether your guitar has a fixed bridge, a floating tremolo system, or is an acoustic, the cleaning process involves gentle wiping and careful removal of debris from hard-to-reach places with a couple of key differences.
Below we show you what cleaners & tools you can use, what to use on an acoustic guitar bridge, and answer some frequently asked questions.

Essentials of Guitar Bridge Cleaning
Proper cleaning of your guitar bridge is crucial for maintaining the instrument’s playability and longevity. It prevents build-up that can affect tone & tuning stability.
Related: The anatomy of an electric guitar
Identifying Your Guitar Bridge Type
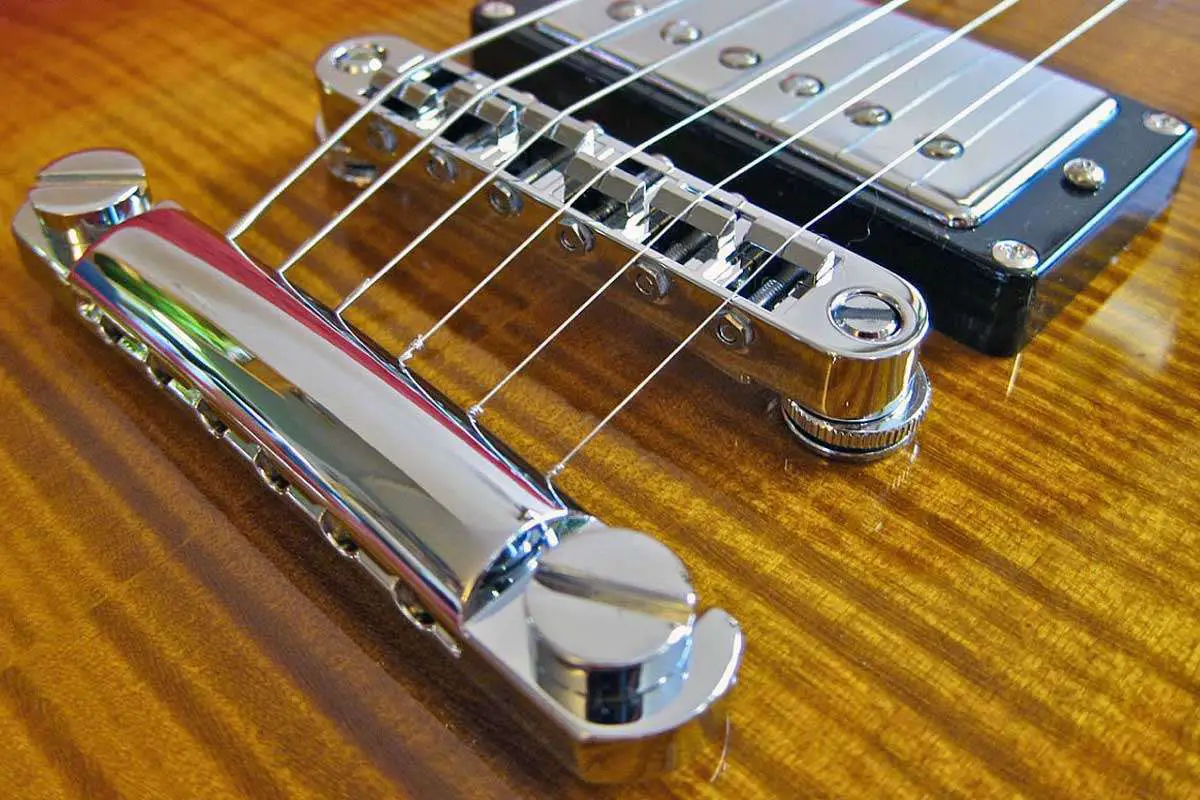
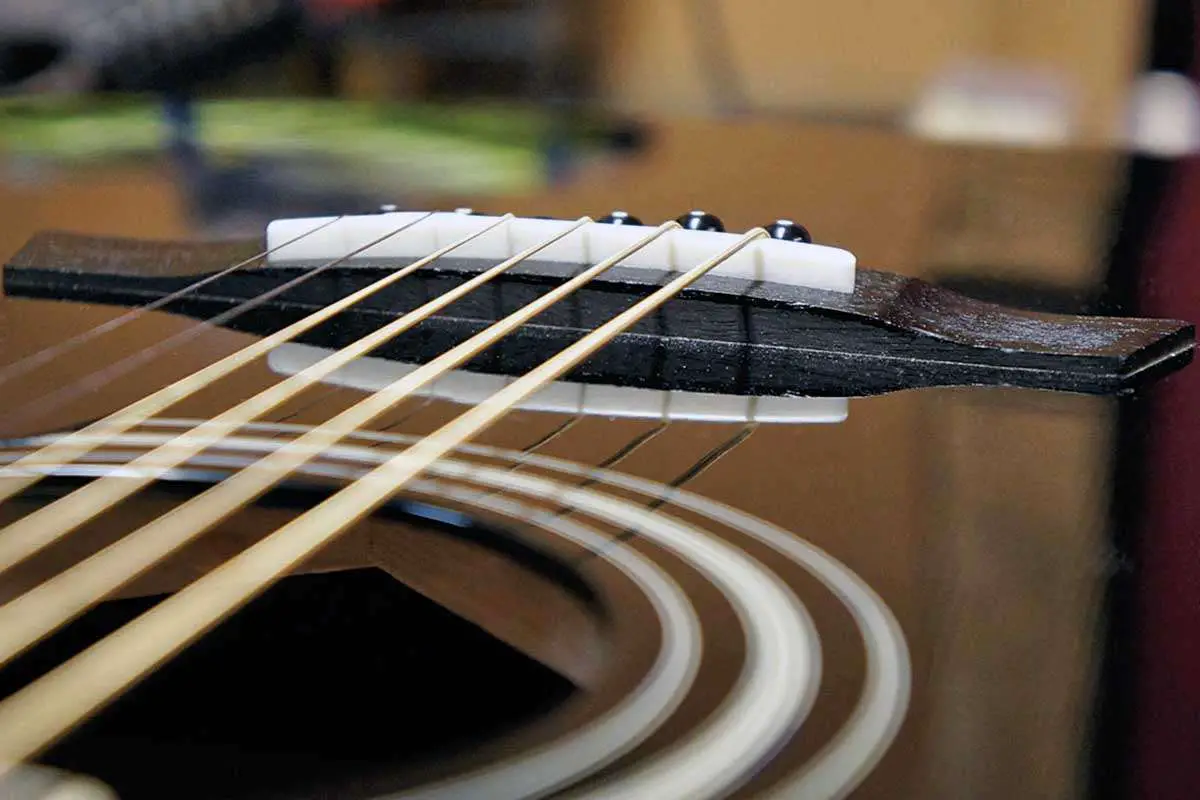
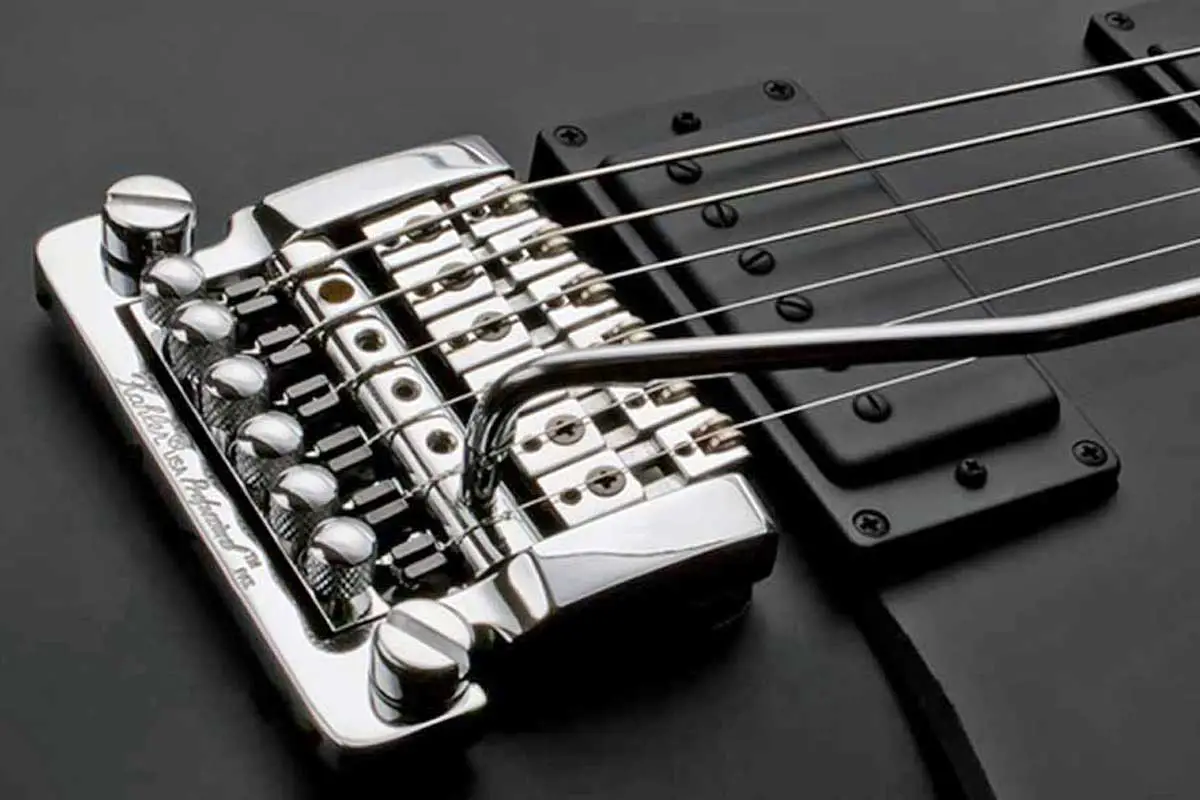
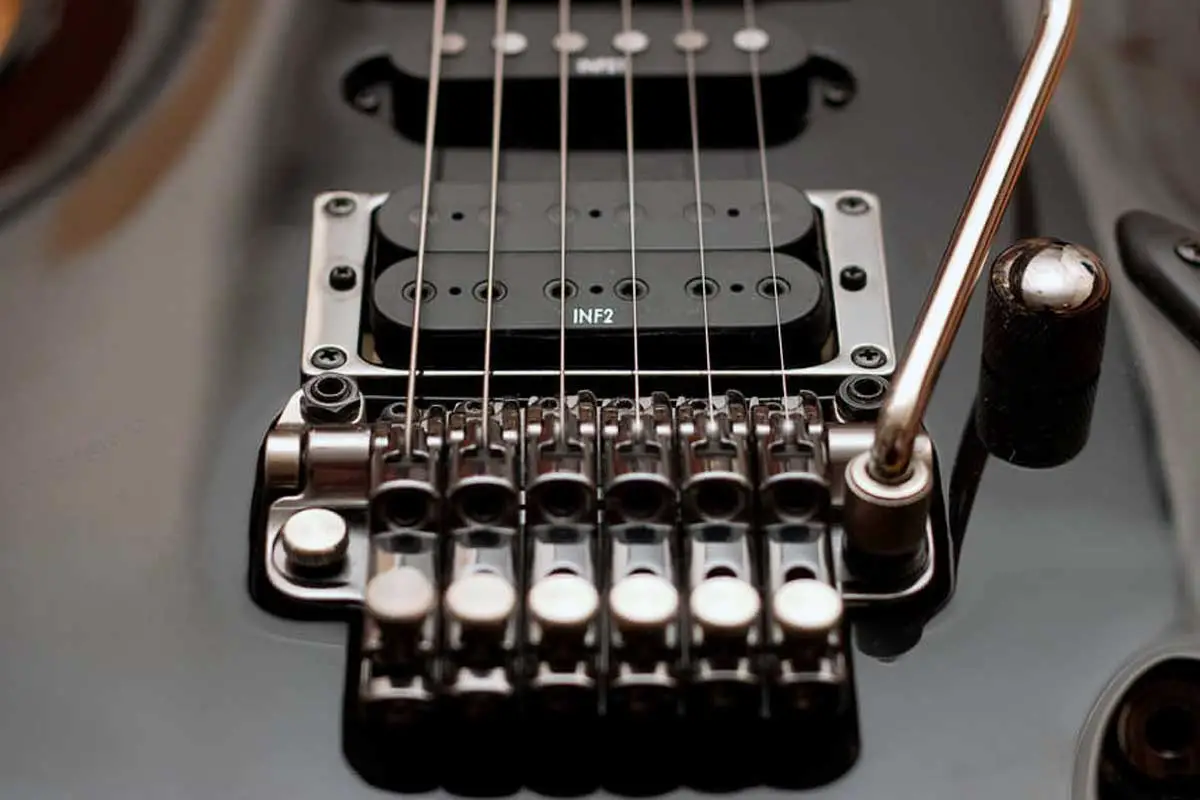
When it comes to cleaning your guitar, identifying the type of bridge it has is your first crucial step. The two most common bridge types are acoustic and electric.
Acoustic guitars typically feature fixed bridges, while electric guitars can have fixed or floating bridges. Knowing your bridge type is essential because the cleaning process varies depending on the design.
For instance, acoustic bridges require a gentler touch to preserve the delicate wood, while electric bridges might involve adjusting individual saddles or springs. So, before you dive into cleaning, take a moment to identify your guitar’s bridge type—it’s the key to a successful and effective cleaning session.
Preparing Your Cleaning Materials
Gather your cleaning supplies, choosing those that are appropriate for your guitar’s materials. A soft cloth, toothbrush, microfiber cloth, or cotton swab can be used for scrubbing. For cleaning solutions, you might need warm water with dish soap, guitar polish, or specialized cleaning solutions.
- Cloth: Soft, lint-free, and dry for initial dusting.
- Cleaning Solution: Mild dish soap with warm water or guitar-specific formulas.
- Brushes: Soft-bristled toothbrush or cotton swabs for nooks and edges.
- Polish: Suitable for your guitar’s finish – use guitar wax, polish, or lemon oil (acoustic) for added luster.

How to Clean An Acoustic Guitar Bridge
- Before diving into cleaning, loosen the strings or, if you’re feeling confident, remove them entirely. This step not only provides easier access to the bridge but also minimizes the risk of any accidental damage during the cleaning process.
- Use the dry or slightly damp cloth to gently wipe away any visible dust or debris on and around the bridge. Be mindful of the bridge pins and the saddle area, ensuring you don’t miss any nooks and crannies.
- For those tight spots around the bridge pins and grooves, enlist the help of Q-tips dipped in the mild cleaning solution. Carefully navigate these areas, ensuring a thorough cleaning without applying excessive pressure.
- Finally, apply a couple of drops of dedicated wood polish or wax. This can be a dedicated guitar product, or something like Howard’s Feed-N-Wax, or simply lemon oil. Let this soak into the wood for about 5 minutes.
- Finally, wipe away the excess oil or wax with a soft lint-free cloth to leave behind a brilliant luster.

How To Clean Electric Guitar Bridges
- Loosen or remove the strings to get more access to the hard to reach areas. Doing this when changing up you strings is also a good idea for when to do this.
- Next, wipe down all the parts with a soft lint-free cloth and dampen it with isopropyl alcohol to break down oils.
- For tight spots, you can dip a swap or small brush into some alcohol to clean all the small details.
- Once all the dust and oil is removed, you can now apply a bit of guitar polish or spray wax onto a clean cloth and rub it onto the guitar bridge. This is not only to bring out some extra shine but also provide an extra layer of protection that prevents corrosion.
- Finally, wipe away the wax or polish and re-string your instrument.
Deep Cleaning & Removing Oxidation
If your electric guitar bridge is corroded or has a lot of buildup and grime, it’s best to remove the entire bridge and give it a deep clean.
Materials you will need:
- Nitrile gloves & well-ventilated work area
- Naptha (Warning: Flammable, keep away from ignition sources)
- Oil (Ex: 3-in-one multi-purpose oil)
- Small tray to scrub the bridge parts in)
- A brush or cotton swabs
Procedure:
- Start by carefully removing the bridge on your guitar. Be especially careful with a floating bridge as these are under tension and have spring attached on the underside of them.
- Next, put your gloves on and pour enough naptha to cover the bottom of your small tray. Just a few ounces should be enough. After this, add a squirt of multipurpose oil to add some lubricant properties into the mix.
- Finally, start scrubbing the mixture onto the guitar parts using the soft-bristled brush or cotton swaps.
- Once everything has been scrubbed down, pat it all dry with a clean cloth & re-install.
For Removing Oxidation:
If you have oxidized hardware on your bridge, you can simply soak them in white vinegar overnight and then give them a quick brush with a soft brush the next day. You don’t want to use a metal brush as some of these metal guitar parts are plated & can be scratched this way.
Finally, you will want to neutralize the vinegar to prevent any more rust. To do this, create a mixture of plain water & baking soda, then dip your bridge in there for a couple of minutes.
Finally, wipe it all down until dry & apply some guitar polish or dab on a very light coat of oil to seal the parts from moisture and further oxidation.
Other Guitar Maintenance Articles
| Component | Related Articles |
|---|---|
| Body Finish | How to clean your guitar’s body |
| Bridge & Tailpiece | How to clean a guitar bridge |
| Fingerboard | How to clean your fretboard |
| Frets | How to clean your guitar frets |
| Pickups | How to clean pickups |
| Pots | How to clean guitar potentiometers |
| Strings | How to clean guitar strings |
| Tuners | How to clean guitar tuners |
Frequently Asked Questions
When maintaining your guitar, keeping the bridge clean is crucial to ensure optimal performance and longevity. The following frequently asked questions tackle the best practices for cleaning a guitar bridge.

What are the best tools to use for cleaning a guitar bridge?
To clean your guitar bridge effectively, use a soft cloth, cotton swabs, and isopropyl alcohol, which safely remove dirt & oils without scratching the finish.
What is the safest way to clean a guitar bridge without damaging the finish?
Use a soft lint-free cloth dampened with water, alcohol, or a dedicated guitar cleaner to gently wipe the bridge. Avoid excessive moisture, which can damage the wood and finish.
Are there any household products safe to use for cleaning guitar hardware?
Soapy water can work in most cases. For heavier duty cleaning, a mixture of naptha & all purpose oil works wonders too. If you need to remove rust, letting the parts soak in vinegar works great– Just remember to neutralize the acid in a mixture of baking soda & water before patting dry.
How often should I clean my guitar bridge to maintain its condition?
You should clean your guitar bridge every time you change strings, or at least once every three months, to prevent grime build-up and sustain its condition.
Can I use steel wool to clean my guitar’s bridge and if so, how?
Yes, #0000 super fine steel wool can be used to clean the metal parts of a bridge, but mask off the surrounding areas to prevent metal filings from adhering to the pickup magnets or wood. Also beware that this is only recommended on metal parts that aren’t plated.
What should I avoid when cleaning my guitar bridge to prevent corrosion?
Steer clear of harsh chemicals, and salt-based cleaners as they can induce corrosion. Also, ensure your hands are clean before starting the cleaning process to avoid transferring oils and acids to the bridge. After cleaning, be sure to “seal” you work by applying a thin coat of wax or guitar polish to the parts.
