If you have have never done maintenance to your guitar, you may question, “What is a guitar setup?” A guitar setup is a series of adjustments made to a guitar to ensure that it plays and sounds its best. This can include adjustments to the neck, string height, tuning stability, hardware adjustments, and more. Essentially, a guitar setup is basic maintenance that helps your guitar perform at its peak.
Even the most expensive, high-quality guitar can suffer from issues like buzzing strings, poor intonation, or uneven frets. A guitar setup can address these issues and ensure that your guitar plays smoothly and sounds great. Additionally, a guitar setup can be customized to your playing style and preferences. A guitar setup can take personal factors into account and make your guitar feel like it was made just for you.

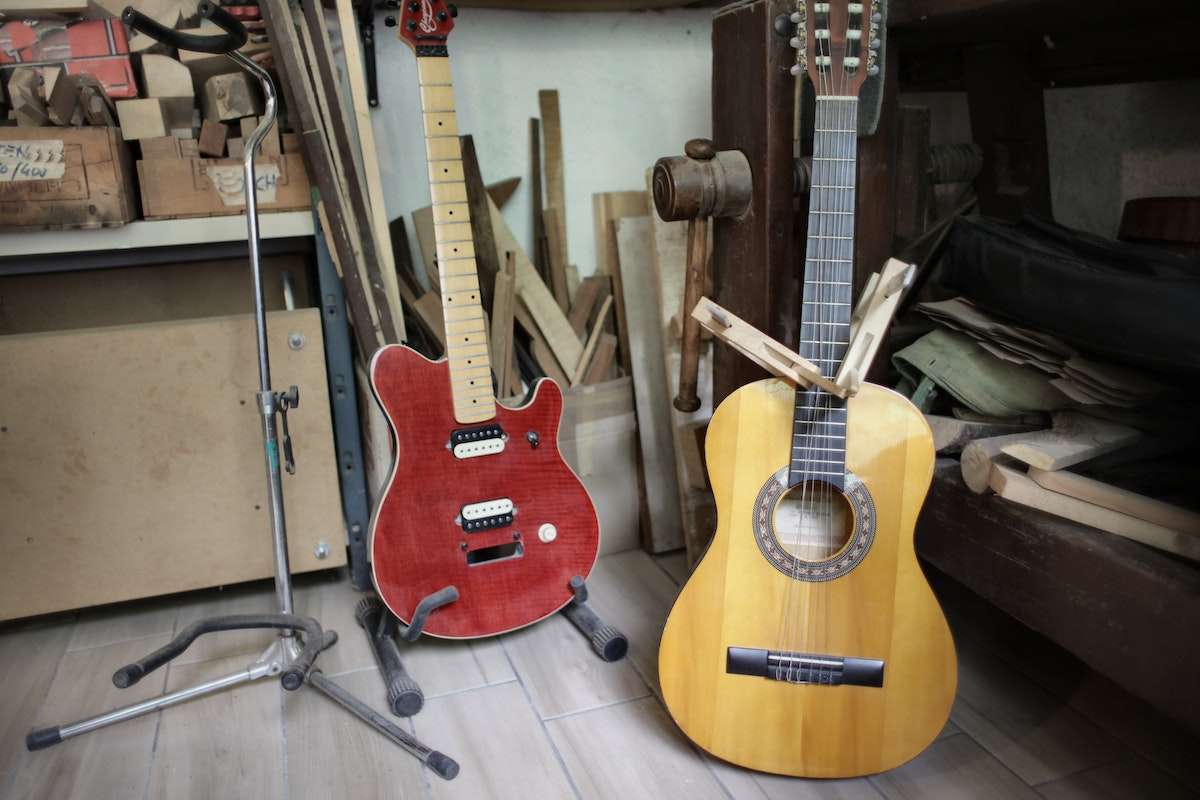
What Is A Guitar Setup?
A good guitar setup can make a big difference in how your instrument plays and feels. If your guitar is difficult to play or doesn’t sound quite right, a setup may be just what you need to get it back in top shape.
If you’re not confident in your ability to perform a setup yourself, it’s a good idea to take your guitar to a professional guitar technician. They have the knowledge and experience to make the necessary adjustments and get your guitar playing its best.
It’s important to note that the cost of a guitar setup can vary depending on where you go and what needs to be done. However, the average cost is usually around $50, which is a small price to pay for a guitar that plays and sounds great.

Tools for Guitar Setup
Guitar Tuner
One of the most important tools you’ll need is a guitar tuner. Whether you’re using an electronic tuner or a manual one, it’s essential that your guitar is in tune before you start making any adjustments. A good tuner will help you get your guitar in tune quickly and accurately.
Wire Cutters
Wire cutters are essential for cutting strings to the right length. You’ll also need them to trim any excess wire from your guitar’s pickups or other components.
Socket Wrench
A socket wrench is useful for adjusting the truss rod on your guitar. This tool will help you adjust the neck of your guitar to ensure it’s straight and level.
Ruler
A ruler is essential for measuring the height of your guitar’s strings. You’ll need to know the distance between the strings and the fretboard to make the necessary adjustments.
Small Phillips-Head Screwdriver
You’ll need a small Phillips-head screwdriver to adjust the screws on your guitar’s pickups and other components. This tool will help you adjust the height and angle of your pickups to get the sound you want.
Hex Key
A hex key is useful for adjusting the saddle height on your guitar’s bridge. This tool will help you adjust the action of your guitar to ensure it’s comfortable to play.
Nut File
A nut file is essential for adjusting the height of your guitar’s nut. This tool will help you adjust the height of the strings at the nut to ensure they’re at the right height.
Capo
A capo is useful for holding down the strings on your guitar while you make adjustments. This tool will help you make adjustments to your guitar’s intonation and other components.
Electronic Tuner
An electronic tuner is useful for checking the intonation of your guitar. This tool will help you make sure your guitar is in tune and playing the right notes.
With these essential tools, you’ll be able to perform a basic guitar setup on your own. However, if you’re not comfortable making adjustments to your guitar, it’s always best to take it to a professional guitar technician.
Guitar Parts and Their Roles in Setup
Strings
Strings are responsible for producing sound and making your guitar playable. The type of strings you use can affect the overall tone and playability of your guitar. During a guitar setup, the string height, or action, is adjusted to ensure that the strings are at the correct height from the fretboard.
Neck
The neck of your guitar is responsible for holding the strings and providing support for the fretboard. The neck can be adjusted using the truss rod to ensure that it is straight and level. This adjustment is important for maintaining proper intonation and playability.
Fretboard
The fretboard is where you play the notes on your guitar. It is important to keep the fretboard clean and well-maintained to ensure that your guitar plays smoothly. During a guitar setup, the frets are checked to ensure that they are level and properly seated.
Nut
The nut is a small piece of material located at the top of the fretboard. It is responsible for holding the strings in place and maintaining proper string spacing. The nut can be adjusted to ensure that the strings are properly spaced and that the guitar stays in tune.
Bridge
The bridge is located at the bottom of the guitar and is responsible for holding the strings in place. During a guitar setup, the bridge height is adjusted to ensure that the strings are at the correct height from the fretboard. The bridge can also be adjusted to ensure that the intonation is correct.
Headstock
The headstock is located at the top of the guitar and is responsible for holding the tuning pegs. During a guitar setup, the tuning pegs are adjusted to ensure that the guitar stays in tune.
Saddles
The saddles are located on the bridge and are responsible for holding the strings in place. During a guitar setup, the saddle height is adjusted to ensure that the strings are at the correct height from the fretboard.
12th Fret
The 12th fret is located halfway between the nut and the bridge and is used as a reference point for intonation. During a guitar setup, the intonation is adjusted to ensure that the guitar plays in tune all the way up the neck.
Frets
The frets are the metal bars located on the fretboard. During a guitar setup, the frets are checked to ensure that they are level and properly seated. If a fret is found to be high or uneven, it can be filed down to ensure that the guitar plays smoothly.
Pickups
Pickups are responsible for converting the vibrations of the strings into an electrical signal that can be amplified. During a guitar setup, the pickup height is adjusted to ensure that the guitar produces the desired tone and volume.
Adjusting the Neck
The neck is responsible for holding the strings in place, and if it is not adjusted correctly, it can affect the playability and sound of the guitar.
One of the most important aspects of adjusting the neck is the truss rod. The truss rod is a metal rod that runs through the center of the neck and is used to adjust the curvature of the neck. If the neck is too straight, it can cause the strings to buzz against the frets. Conversely, if the neck has too much curvature, it can make it difficult to play certain chords and notes.
To adjust the truss rod, you will need to locate the adjustment nut, which is usually located at the base of the neck. You can use an Allen wrench to turn the nut. If you are adjusting the truss rod to straighten the neck, you will need to turn the nut clockwise. If you are adjusting it to add more curvature, you will need to turn the nut counterclockwise.
It is important to note that not all truss rods are the same. Some guitars have a single-action truss rod, which can only be adjusted in one direction. Other guitars have a dual-action truss rod, which can be adjusted in both directions. If you have a single-action truss rod, you will need to be careful when adjusting it, as it is possible to over-tighten the rod and damage the neck.
Another important aspect of adjusting the neck is neck relief. Neck relief refers to the amount of curvature in the neck. If the neck has too much relief, it can make it difficult to play certain chords and notes. If it has too little relief, the strings can buzz against the frets.
To adjust the neck relief, you will need to adjust the truss rod. If you need to add more relief, you will need to turn the nut counterclockwise. If you need to reduce the relief, you will need to turn the nut clockwise.
Setting the Action
The action of a guitar refers to the distance between the strings and the fretboard. It is an essential aspect of a guitar setup since it determines how comfortable it is to play and how well it sounds. A low action means that the strings are closer to the fretboard, while a high action means that they are farther away.
If the action is too high, it can cause discomfort, and you may have to press the strings harder to play the notes. On the other hand, if the action is too low, it can cause fret buzz, which is an unwanted buzzing sound that occurs when the strings hit the frets.
To set the action on your guitar, you need to adjust the height of the strings. You can do this by adjusting the saddles on the bridge of your guitar. Most electric guitars have adjustable saddles that allow you to raise or lower the height of the strings.
When adjusting the action, it is essential to strike a balance between comfort and playability. If you are a beginner, you may want to start with a higher action, as it will be easier to play without causing fret buzz. As you gain more experience, you can gradually lower the action to achieve a more comfortable playing experience.
Acoustic guitars typically have a higher action than electric guitars, as the strings are thicker and require more space to vibrate. However, the action on an acoustic guitar can still be adjusted to achieve a more comfortable playing experience.
Tuning and Intonation
Tuning and intonation are essential aspects of guitar setup that ensure your guitar sounds great. Tuning refers to adjusting the pitch of each string so that it matches the standard musical notes. Intonation, on the other hand, refers to the accuracy of the pitch of the notes played on each fret of the guitar.
To tune your guitar, you need to use a precise guitar tuner. Once you have your tuner, tune each string as accurately as possible. Make sure you check the tuning of each string regularly, especially if you are playing for an extended period.
Intonation is all about how in-tune your guitar is with itself. You can check your guitar’s intonation by playing a harmonic at the 12th fret and comparing it to the fretted note at the same position. If the fretted note is sharp or flat compared to the harmonic, your guitar is not correctly intonated.
To adjust your guitar’s intonation, you need to adjust the length of the string at the bridge. If the fretted note is sharp, you need to increase the string length by moving the saddle away from the nut. If the fretted note is flat, you need to decrease the string length by moving the saddle towards the nut.
It is essential to ensure that your guitar is intonated correctly to avoid any tuning issues when playing chords or melodies. A guitar that is correctly intonated will sound in tune across all the frets, while a guitar that is not intonated will sound out of tune, especially when playing higher up the fretboard.
Guitar Maintenance
Regular guitar maintenance is essential for keeping your instrument in good condition and ensuring that it performs at its best. Proper guitar care involves a combination of cleaning and polishing, as well as making sure that the guitar’s hardware and electronics are functioning correctly.
One important aspect of guitar maintenance is cleaning the guitar’s fretboard. Over time, dirt and grime can accumulate on the fretboard, which can cause the strings to wear out faster and affect the guitar’s tone. To clean the fretboard, you can use a soft cloth and some lemon oil. Apply a small amount of lemon oil to the cloth and rub it onto the fretboard, being careful not to get any oil on the guitar’s finish.
Another key aspect of guitar maintenance is polishing the guitar’s finish. Guitar polish can help to protect the guitar’s finish from scratches and other damage, as well as keeping the guitar looking shiny and new. To polish your guitar, you can use a soft cloth and some guitar polish. Apply a small amount of polish to the cloth and rub it onto the guitar’s finish, using a circular motion.

Common Setup Issues
Buzzing or Fret Buzz
One common issue guitarists face is fret buzz, which happens when the string vibrates against the frets. You can try adjusting the string height or checking the neck relief to fix this issue. Another possible cause is worn frets, which may require professional repair.
Out of Tune
If your guitar is consistently out of tune, it may be due to a few different factors. One common cause is a stretched or worn out string. You can try replacing the strings to see if that helps. Another possible cause is a loose tuning peg, which can be tightened with a screwdriver. Lastly, if your guitar is not intonated correctly, it may sound out of tune even when the strings are tuned properly.
Neck Bow
A neck bow is when the neck of the guitar is curved too much, causing the strings to be too far away from the frets. This can make it difficult to play and cause buzzing or other issues. You can try adjusting the truss rod to fix this issue, but be careful not to over-tighten it.
Humidity and Warping
Changes in humidity can cause the wood of your guitar to warp, which can lead to a variety of issues such as buzzing or difficulty playing. To prevent this, store your guitar in a place with consistent humidity levels and use a humidifier or dehumidifier as needed. If your guitar has already warped, it may require professional repair.
Filing
If your guitar’s frets are too high or uneven, it can cause buzzing or difficulty playing. You can try filing the frets to even them out, but be careful not to remove too much material. This is a delicate process and may require professional repair if done incorrectly.

Advanced Setup Techniques
One advanced technique is adjusting the relief of the neck. Relief is the slight curvature of the neck, and adjusting it can help ensure that every note rings out clearly and evenly. To check the relief, you can use a straight edge and a feeler gauge. If the relief is too much or too little, you can adjust it by tightening or loosening the truss rod.
Another technique is balancing the bridge. This involves adjusting the height of each string to ensure that they all have the same tension and feel similar to play. You can use a ruler or feeler gauge to measure the distance between the strings and the fretboard, and adjust the height of each string accordingly.
The nut height is another aspect of the guitar that can be adjusted in an advanced setup. The nut is the small piece of material at the top of the fretboard that the strings rest on. If the nut is too high or too low, it can affect the intonation and playability of the guitar. You can adjust the nut height by filing down the material or replacing it entirely.
Experienced players might also want to perform a tap test to diagnose any issues with the guitar’s sound. This involves tapping on different parts of the guitar while listening for any dead spots or other issues. If you notice any problems, you might need to perform surgery on the guitar, such as replacing the bridge or adjusting the saddle.