Learning how to power guitar pedals on your board correctly is crucial for achieving the best sound and ensuring the longevity of your equipment. Each pedal requires a specific amount of power, typically denoted in milliamperes (mA), and a certain voltage. Most pedals operate at 9 volts, but some may require 12, 18, or even 24 volts. It’s essential to check the requirements of each pedal to avoid damage. Using individual batteries for each pedal is an option, though this can be impractical for players with larger setups or for those who play frequently.
For a more consistent and reliable power source, you can use a dedicated power supply unit (PSU) designed for guitar pedals. These units often feature multiple outputs, allowing you to power several pedals at once. Some PSUs also provide different voltage outputs, catering to the needs of different pedals. To set up your pedals for use, connect them with patch cables in the order that shapes your sound as desired—typically, guitarists place dynamic effects like compressors first, followed by distortion effects, modulation effects, and then time-based effects such as delays and reverbs, this is called the signal chain order.
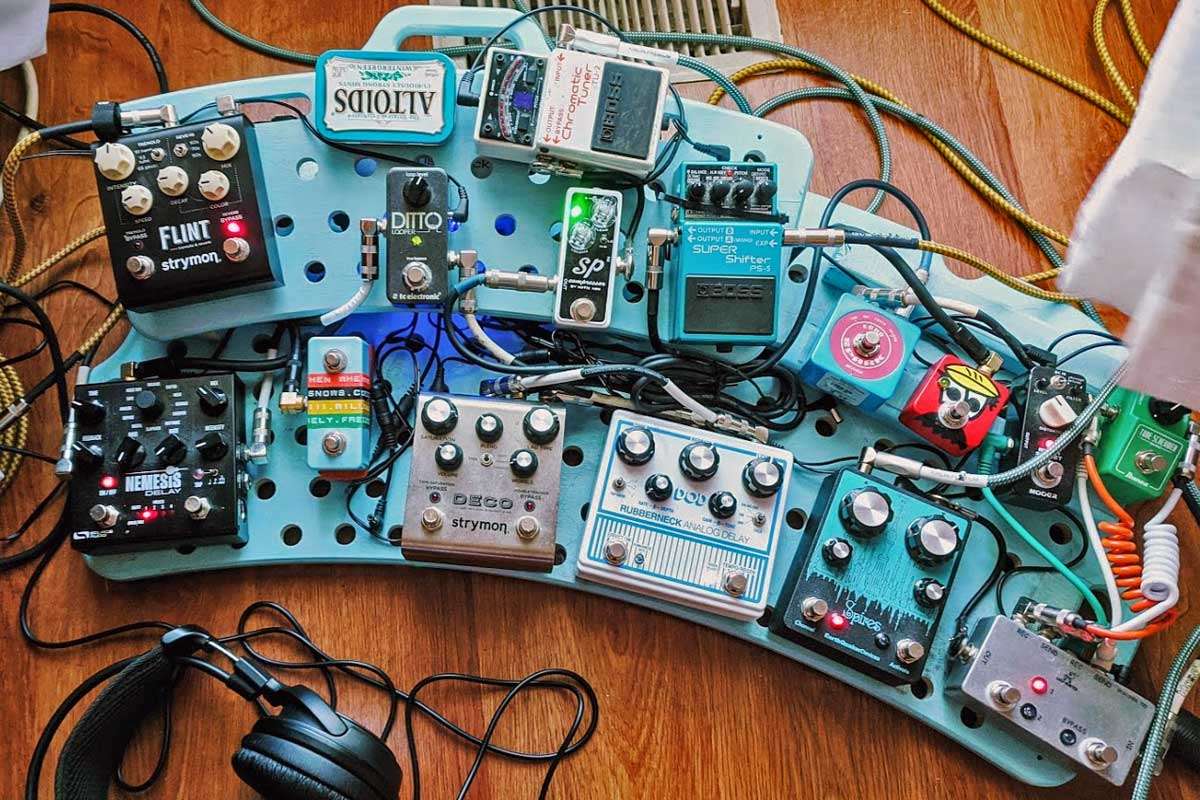
Properly assembling a pedalboard involves organizing your pedals efficiently to minimize noise and ensure that they are all sufficiently powered. When everything is connected, secure your pedals to the pedalboard with hook-and-loop tape or mounting brackets. This setup not only streamlines the power distribution but also keeps your pedals in a convenient and sturdy formation for use during live performances or recording sessions.
Understanding Guitar Pedal Power Requirements
To ensure your pedals perform optimally and without any power-related issues, it’s crucial to comprehend their power requirements thoroughly.
Identifying Power Needs
To begin, you need to check each of your pedals for its specific power needs, which are typically listed on the pedal itself or in the user manual. It’s important to note the voltage (V), current (mA), and polarity (center negative or center positive), as mismatches can lead to damage or suboptimal performance.
Voltage and Polarity Basics
Your pedals may require different voltages, commonly 9V, 12V, or 18V. It’s essential to match the voltage of the power supply to that of the pedal. Polarity refers to the direction of flow of current, and most pedals use a center-negative polarity. Incorrect polarity can cause irreversible damage, so double-check the specifications.
Current Draw and Power Supply Rating
Lastly, determine the current draw of each pedal, measured in milliamps (mA). Ensure your power supply can handle the cumulative current draw of all your pedals with some headroom to prevent strain. A pedal’s current draw can be found in the manual or on the device, and your power supply should have a higher mA rating than the total current draw of your pedals to function correctly.
Selecting the Right Power Supply
When setting up your pedalboard, choosing the right power source is crucial for optimal performance and to avoid unwanted noise. Here’s how you can power your guitar pedals effectively.
Battery vs. External Power
Battery: Batteries offer simplicity and portability. They’re ideal for pedals with low current draw—typically less than 100mA. However, batteries can be unreliable over time and may die unexpectedly during use. Always check your pedal’s requirements to see if battery use is viable long-term.
External Power: For extensive use, an external power supply is the way to go. Unlike batteries, external sources provide a consistent DC power supply, which can handle multiple pedals and offer more reliability, especially on stage.
Isolated vs. Daisy Chain Supply
Isolated Supply: An isolated power supply provides separate power feeds to each pedal, reducing the likelihood of noise and hum caused by ground loops. If you’re using pedals that are sensitive or draw significant current, an isolated supply like the Voodoo Lab or Strymon Zuma is beneficial.
Daisy Chain: A daisy chain uses one power source to connect multiple pedals in series. It’s more affordable and easier to set up. However, daisy-chaining can introduce noise if pedals have different power requirements or if one pedal malfunctions.
Choosing Quality Power Supplies
When choosing a power supply, look for:
- Voltage and Current Ratings: Ensure the ratings match your pedals’ requirements.
- Build Quality: A sturdy build prevents damage and ensures longevity.
- Noise Filtration: Quality supplies have built-in features to minimize noise from power fluctuations.
Remember, investing in a reliable power supply saves you from the hassle and expense of frequently replacing batteries or dealing with inconsistent power at a gig. A proper power setup can make a significant difference in your guitar tone’s purity and the reliability of your effects chain.
Setting Up Your Pedalboard
Before diving into the details, note that a well-configured pedalboard can enhance your sound by reducing noise problems and ensuring each pedal receives the correct voltage.
Arranging Pedals for Optimal Powering
When organizing your pedalboard, it’s crucial to group pedals according to their voltage and current requirements. Most pedals require a 9V supply, but some may need different voltages. Place pedals with similar power requirements together to simplify your powering strategy. Ensure that the path of your power cables is clean and unobtrusive to avoid accidental disconnections.
Connecting Power to Pedals
Once your pedals are arranged, use a daisy chain or isolated power connectors to distribute power to each pedal. If using a daisy chain, check the total current output doesn’t exceed the power supply’s capability. For high-quality performance without noise and hum, consider using an isolated power supply unit that provides a dedicated output for each pedal. Use the correct connector type to match each pedal’s input.
Avoiding Noise and Interference
To minimize noise problems such as hum or interference, keep your power cables separate from audio cables. Use quality, shielded cables for both. Additionally, ensure that all connectors are fully inserted to prevent partial connections which can cause noise. If you encounter noise issues, a noise gate pedal or filtering devices can be implemented into your signal path to reduce unwanted sounds.
Maintaining and Troubleshooting Pedal Power
To ensure your guitar pedals perform consistently and maintain their tone quality, regular maintenance and adept troubleshooting of power issues are crucial.
Regular Maintenance Tips
Test your power supplies regularly to confirm they’re delivering the correct voltage and amperage; mismatched power can cause noise issues or potentially damage your pedals. Use an isolated power supply which offers dedicated outputs for each pedal, minimizing the risk of electrical noise and hum in your sound.
- Check the polarity of your pedals, as using a power supply with the wrong polarity might lead to irreversible damage. The standard for most guitar pedals is a negative center pin, but always verify this with your pedal’s specifications.
- Inspect the power jack and cables for any signs of wear or loose connections that could lead to a loss of power or unreliable performance.
Troubleshooting Common Power Issues
When experiencing power-related issues, assess these factors methodically:
- Polarity and Voltage: Ensure that the polarity and voltage of the power supply match each pedal’s requirements. A reverse polarity or incorrect voltage can cause silent or improperly functioning gear.
- Amperage: Check if the power supply provides adequate current (amperage) to support each pedal. An iso-5 power supply can be beneficial for pedals with higher current demands.
- Cable Connections: Loose or damaged cables can often be the culprit. Confirm that all connections are secure and functional.
- Isolated vs. Non-isolated Power Supplies: Understand the pros and cons of each. Isolated power supplies typically offer cleaner power reducing noise, while non-isolated power supplies are more affordable but could introduce ground loops into your signal chain.
By keeping these maintenance and troubleshooting tips in mind, you’ll ensure your pedals have the proper power they need, thus preserving the utility and integrity of your guitar’s tone.