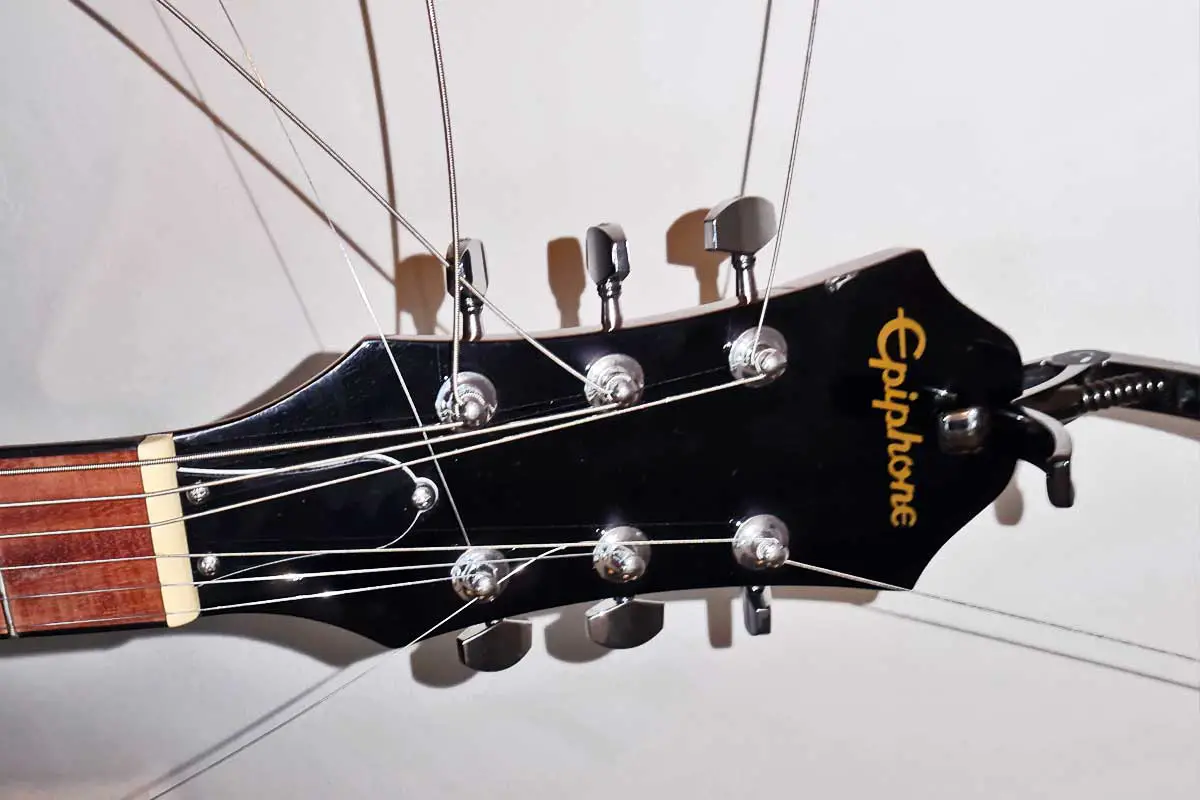
Changing guitar strings is a routine part of guitar maintenance that every player must learn to ensure their instrument sounds its best. However, once the new strings are securely in place and tuned, there’s one final step that’s often overlooked: cutting off the excess string. This not only tidies up the appearance of your guitar but also prevents the loose ends from catching on clothing or gear, which could lead to detuning or, worse, injury. Below we’ll cover a couple ways showing you where to cut guitar strings to avoid these issues.
Cut them too close to the tuning peg, and you risk the string slipping out of the coil, which can result in losing a brand new string if you’re re-stinging your instrument. Leave too much excess, and the sharp string ends can be hazardous & unsightly. The ideal cutting point allows for enough winding around the tuning peg for secure tuning, while also keeping the headstock neat and safe.
As we delve deeper into the subject, we’ll explore the tools needed for this task, the recommended techniques to avoid damage to your guitar, and some additional tips to ensure your string-changing process is as smooth and efficient as possible.

Preparing to Cut Your Guitar Strings
When it’s time to change your guitar strings, proper preparation ensures a smooth process. Having the correct tools on hand and knowing how to remove old strings is crucial before making any cuts.
Gather the Right Tools
Here’s what you might need to cut that excess slack off of the new strings:
- Wire Cutters: Essential for cutting the new strings to the appropriate length. Also known as Diagonal Cutters or “Dikes”
- Needlenose Pliers: These can be used as an alternative to diagonal cutters, especially if they have their own cutting section, and work well to coil a freshly cut string if you prefer that aesthetic.
- Nail Clippers: If you don’t have any of the above, a pair of nail clippers will work in a pinch.
Ensure your tools are in good condition to avoid any damage to your guitar or the new strings. So here’s the technique essentially:
What you want to do is like the video, leave behind a quarter of an inch (1/4″ or approximately 6mm) of slack and cut the string thoroughly.
Now you can leave the string as-is like in the video, however we recommend also using needle-nose pliers to bend the remaining slack inwards or creating a sort of pig-tail. This is to hide the sharp edges of the string and from accidentally grabbing these when handling your instrument – it could be quite the hazard!
How To Remove Guitar String Slack Without Tools
Don’t have any tools on hand? No worries. Here’s a method I’ve personally used many times over the years when I don’t have my tool bag handy.
It’s very easy & all you have to do is bend the strings at a tight angle back & forth. This will cause material fatigue and cause the metal string to snap cleanly after a few tries.
A Word of Warning
Be cautious and ensure that the wraps around the tuning peg are tight before cutting the string in this manner. Sometimes the initial wrap may be loose, particularly on electric guitars. So if you cut the string while it’s loose, it could unravel it entirely, forcing you to restring it or replace it altogether. Really unfortunate if it’s a brand new unused string that has to be trashed.
I personally recommend tuning your guitar, stretching the strings properly, giving a final tuning once the strings have settled, and then proceeding with this method once everything is nice and tight.
