In the world of stringed instrument making and maintenance, you might come across a term known as the “luthier’s knot.” This specialized knot is an integral part of a luthier’s skill set, useful for securing strings to the tailpiece or bridge of instruments such as violins, guitars, and cellos. Understanding how to tie a luthier’s knot correctly is important not only for the instrument’s functionality but also for maintaining the quality of sound.
The technique behind a luthier’s knot may vary slightly depending on the instrument and string type, but the principle remains consistent: to create a secure, non-slip knot that can withstand the tension of a tuned string. As you delve into the craftmanship of luthiers, you’ll find that the knot is just one aspect of the meticulous care taken in instrument making and repair, a testament to the blend of art and science inherent in the profession.
Luthier’s Knot Origins and Basics
Understanding the luthier’s knot is essential for anyone interested in stringed instrument craftsmanship, especially in relation to the guitar. Its role is pivotal in the maintenance of string tension and tuning stability.
Historical Context
The luthier’s knot, utilized predominantly in classical guitars, has roots that extend back to the early days of stringed instrument creation. Historically, luthiers, or artisans who build and repair stringed instruments, have employed this particular knot to secure the strings to the bridge and tuning mechanisms effectively. This knot has been a fundamental aspect of guitar maintenance, allowing for quick string changes and reliable playability.
Fundamental Principles
To tie a luthier’s knot, you must grasp its fundamentals: precise execution and an understanding of its mechanical advantages. Your goal is to create a loop that coils back upon itself, ensuring that the tension from the strings increases the knot’s tightness. Luthier’s expertise in tying this knot is crucial, as it prevents slippage, contributing to the instrument’s tone and tuning stability. A properly tied luthier’s knot will evenly distribute stress, avoiding damage to the guitar’s fine components.
How To Tie A Luthier’s Knot on Various String Instruments
When tying a Luthier’s Knot, precision is key to maintain the tuning stability of your instrument. Whether you’re working with an acoustic or electric guitar, or any other stringed instrument, the correct knot at the bridge or headstock can make all the difference in your instrument’s sound and performance.
Acoustic Guitar
For an acoustic guitar, the Luthier’s Knot is essential at the bridge end to secure the strings. Begin by inserting the string through the bridge hole and leaving enough slack for winding. Loop the free end of the string around the main string portion and bring it under itself, creating a simple knot. Pull it tight so that it sits snugly against the bridge. As you wind the string onto the tuning peg, make sure it is properly seated to avoid slippage.
Electric Guitar
With an electric guitar, the procedure varies slightly depending on its bridge design. However, the general method involves pulling the string through the bridge or tailpiece, then winding it around once before leading it upwards to the tuning peg. On the tuning peg, you should loop the wire under and over itself to lock the string in place. Ensure each loop is tight and firm for optimal tuning stability.
Other Stringed Instruments
On other stringed instruments, such as violins or cellos, the process may differ due to their unique bridge and headstock designs. The string should be inserted through the appropriate hole or slot, and then a knot similar to that used in acoustic guitars can be made. It should be tight enough to hold its position but not so tight that it pinches or wears the string unnecessarily. Always consult the specific instructions for your instrument to ensure you tie the Luthier‘s Knot correctly.
Advanced Techniques & Best Practices
In the world of string instruments, meticulous attention to the way you tie a luthier’s knot is crucial, not only for the longevity of your strings but also for maintaining stable tuning. Specific techniques can ensure that the knots you make will be enduring and effective.
Ensuring Knot Durability
When you’re stringing your instrument, aim to create a knot that will withstand the tension and stress of frequent use. Begin by threading the string through the bridge or tailpiece of your instrument and tighten the string slightly to maintain tension. Once pulled through, loop the end of the string around itself and pass it back through the loop to create a secure knot. Here’s a simple guide to follow:
- Pass the string through the bridge hole.
- Loop the string end around itself twice.
- Tighten the loop against the bridge, while keeping tension.
Ensuring durability means checking that the knot sits snugly against the bridge and does not slip when further tension is applied as you tune the instrument.
Tuning Stability Considerations
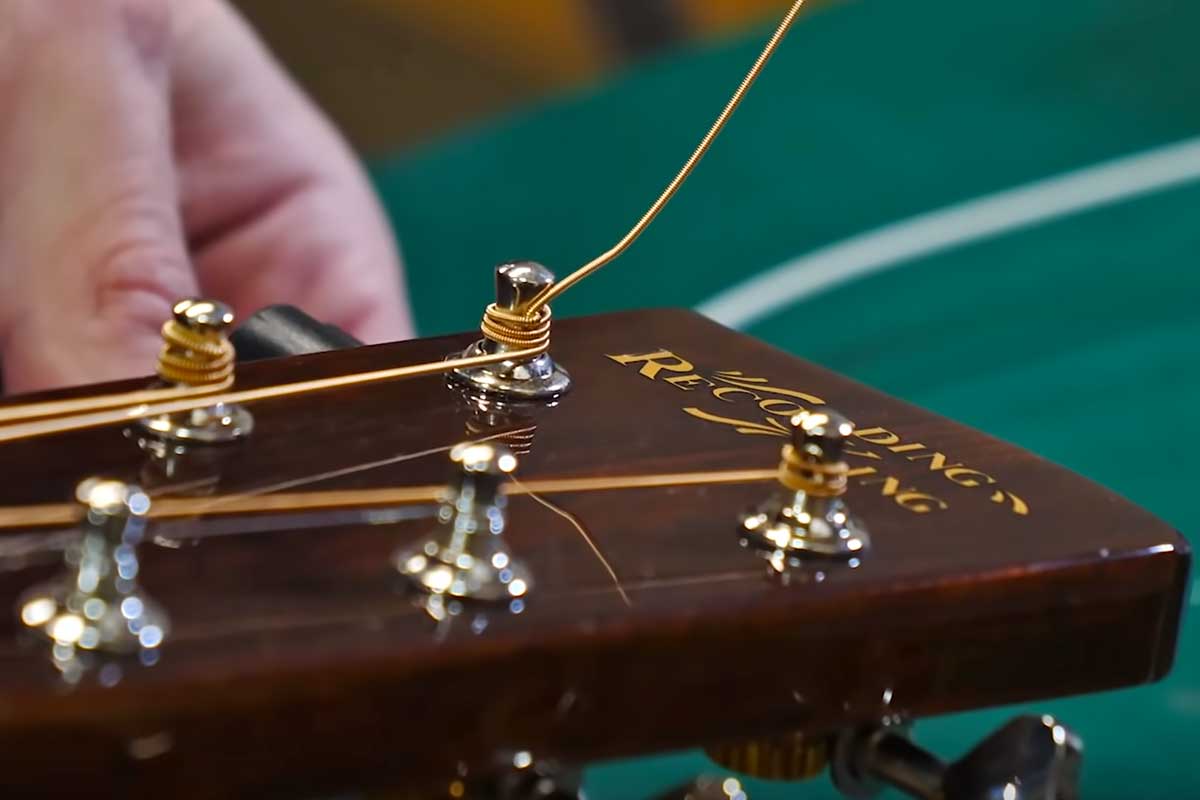
A well-tied luthier’s knot contributes significantly to tuning stability. When winding the string around the tuner, it’s important to keep windings neat and evenly spaced. This not only helps maintain tuning but also prevents the string from slipping. As you change strings and begin winding onto the tuner, make sure to:
- Wind from the inside out, keeping windings tight and orderly.
- Leave enough slack to wrap the string around the tuner 2-3 times.
- Never overlap string windings on top of each other.
Always double-check the knot and its stability after tuning to pitch to ensure that the string is secure and will not drift out of tune easily. With these practices, you’ll extend the life of your strings and enjoy a more reliable sound.