Electric guitar action height is a critical factor that significantly influences both playability and tone. Everything action height begins with understanding that it refers to the distance between the strings and the fretboard.
Proper action height can make notes easier to press down, allowing for smoother and more efficient playing, while also eliminating string buzzing and allowing each note to ring out clearly. Conversely, improper action height can waste your fretting hand’s effort or sacrifice your tone and sustain.
Measuring and adjusting string height requires specific techniques and tools, which are essential for optimizing your guitar’s performance. By mastering the concept of action height, you can unlock your instrument’s full potential and enhance your playing experience.
Key Takeaways:
- Guitar action height is the distance between strings and fretboard, typically measured at the 12th fret.
- Ideal electric guitar action height is generally 1.5-2.0 millimeters at the 12th fret, but varies with player preference.
- Proper action height affects playability, string buzz, intonation, and tone.
- Adjusting action involves modifying neck straightness, bridge saddle height, and nut slot depth.
- Regular maintenance of action height is crucial for optimal guitar performance.
What is Guitar Action Height
Guitar action height refers to the distance between the strings and the fretboard of an electric guitar. It plays a crucial role in determining the playability and overall performance of the instrument.
Most guitarists understand the importance of having an appropriate action height, as it directly affects how easy or difficult it is to play notes, chords, and perform techniques on the guitar. To measure guitar action height accurately, you will need a few tools commonly found in a guitarist’s toolbox.
A ruler with measurements in millimeters or inches is essential for this task. Additionally, a small screwdriver may be necessary to make adjustments if needed.
It’s worth noting that electric and acoustic guitars have different methods for measuring action height due to their distinct construction and design. The main ways to determine guitar action height involve focusing on specific areas of the instrument.
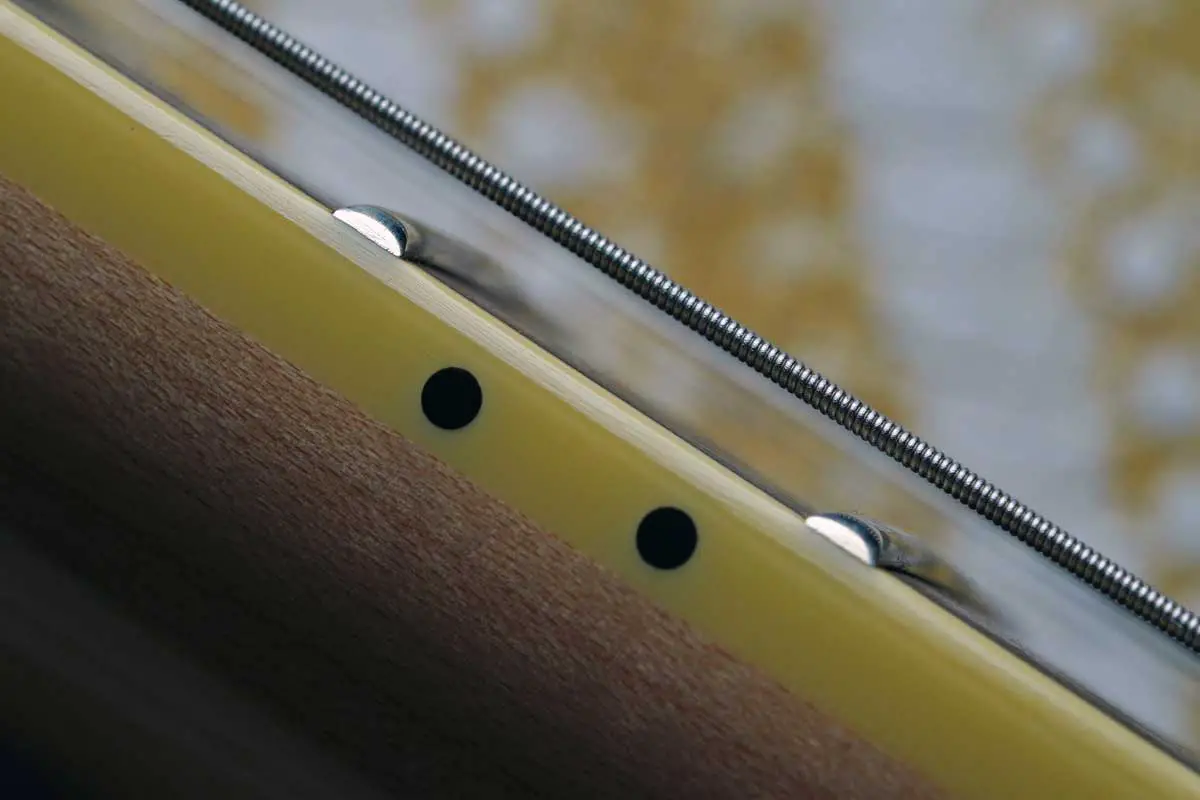
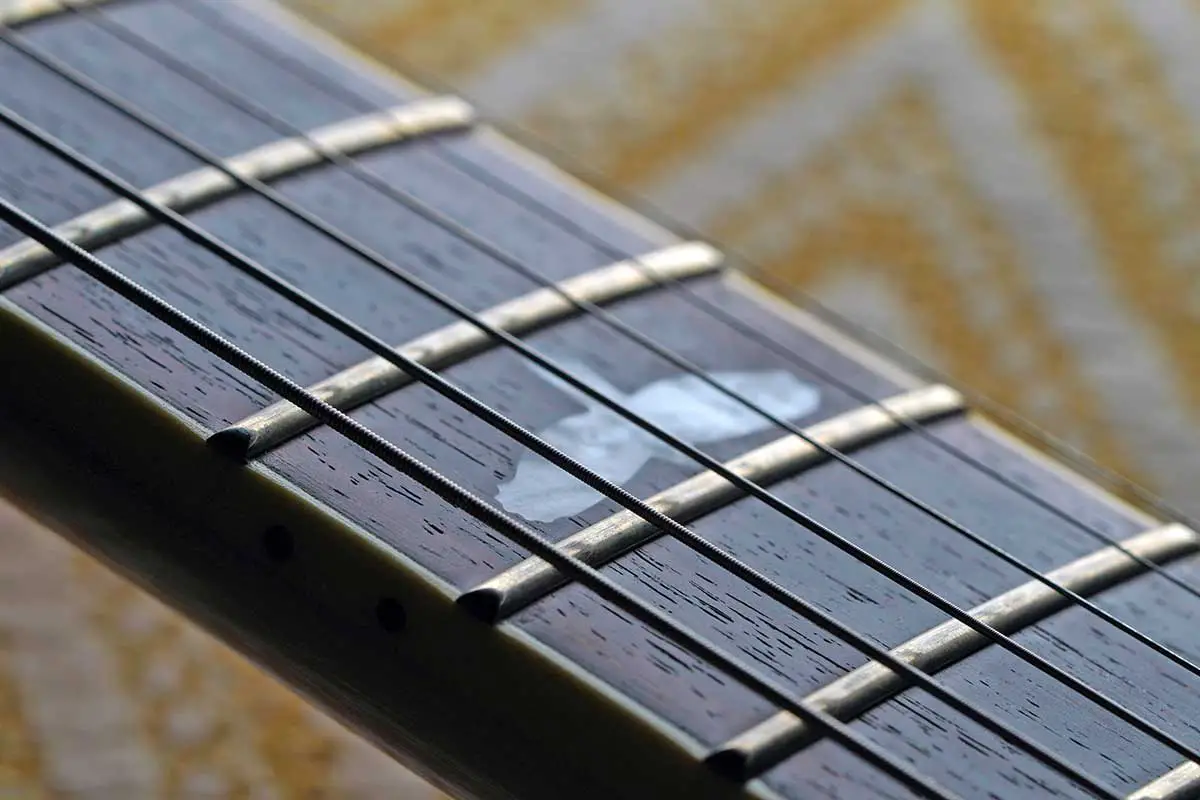
Firstly, measuring at the 12th fret is a common method used by many guitarists & guitar techs. This location provides a good overall representation of the guitar’s string height across all frets since it lies in the middle point between the nut and bridge.
Secondly, some players also check the action at both ends of the neck—around the first frets and near higher frets—to ensure consistency throughout different positions on the fingerboard. Setting the action height requires finding that sweet spot where it feels comfortable to play without causing unnecessary strain or difficulty.

While personal preference comes into play here, there are general guidelines that can help achieve an ideal setup for most players. Too high of an action can result in increased finger pressure required to press down strings onto frets, leading to fatigue over extended playing periods.
On contrary, an extremely low action might cause fret buzz or rattling noises due to excessive string vibrations against nearby frets. Understanding what guitar action height entails is crucial for any guitarist looking to optimize their instrument’s performance and playability.
With proper measurement techniques and adjustments made with precision, you can find that perfect balance that suits your playing style and preferences. Next, we will delve into the process of measuring guitar action height in more detail, providing you with a comprehensive understanding of how to achieve the desired action for your instrument.
Related: The Anatomy of an Electric Guitar
What’s The Ideal Action For an Electric Guitar
Striking the right chord with your guitar’s action is essential for a smooth and satisfying playing experience. This delicate balance, the space between strings and fretboard, is measured at the 12th fret and is pivotal for ease of play, precise intonation, and pure tone. Too low, and you’ll be serenaded by the buzz of strings against frets; too high, and your fingers may tire from the marathon of pressing down the strings.
| Guitar Type | Low E Action (mm) | High E Action (mm) | String Gauge |
|---|---|---|---|
| Standard Electric | 1.6 – 2.0 | 1.6 – 2.0 | Light to Medium |
| Lead Guitarist | 1.0 – 1.5 | 1.0 – 1.5 | Super Light to Light |
| Rhythm Guitarist | 2.0 – 2.5 | 2.0 – 2.5 | Medium to Heavy |
Whether your guitar is a budget model with a lofty action or a high-end instrument finely tuned at the factory, the goal is the same: find your comfort zone. The golden action range lies between 1/16″ (1.6mm) and 3/32″ (2.4mm), though some may venture higher to suit an energetic strumming style. To measure, simply support the neck, stretch a string at both ends, and use a ruler or gauge to gauge the gap. If you’re perpetually tweaking the truss rod to perfect the action, it’s time to enlist a technician’s expertise. Ultimately, personal preference leads the way—experiment until your guitar feels like an extension of your own creative spirit.

How To Measure& Adjust Electric Guitar Action Height
In order to inspect your guitar for a proper set up, there are 4 things that need to be taken into account
Neck Straightness
To measure the neck straightness, you want to press down the first fret & the fifteenth fret, or whatever fret meets the body of the guitar.
Then look between the 7th & 9th fret to notice the amount of gap between the frets & the bottom of your low e string. This gap is the amount of “relief” your guitar neck has.
A little bit of a gap is okay as mentioned in the video below, however if you want a dead-straight neck, then an adjustment to your truss rod will have to be made.
12th Fret Action
For this measurement, you want to check for the correct string-to-fret distance of your low e string & high e string.
This is done before the radius adjustment of the saddles & sets the outer limits for the next step.
A gap measurement of about .40 inches (3/64) or about 1mm is probably about as low as you want to go.
If any of your two strings need height adjustment, you can do that at the saddles on the bridge using an allen wrench or hex head tool.
Bridge Saddle Radius
In this adjustment, you will need an under-string radius gauge. It’s a bit of a specialized tool, so if you don’t have one, we will show you an alternate way using a credit card in the next section.
Basically you’re going to want to adjust the height of your inner bridge saddles to match the outer e strings & form a slight carve that matches the fretboard radius.
When using the under string gauge, simply adjust the inner saddle heights (strings 2-5) until all strings buzz slightly onto the gauge.
1st Fret Action
The last measurement is for the string to fret distance on the first fret.
Mind you this is more of something to note as a last step, than to adjust on spot, as adjustment requires permanent filing of the guitar nut.
To measure, simply take your first finger & press down on the 3rd fret of whatever string you’re checking. Then take your other finger & press down on the first fret.
The gap between your string & 1st fret if what you’re looking for. Below are some approximate measurements for each string:
Low E = .025″ (0.635mm)
A = .022″ (0.5588mm)
D = .020″ (0.508mm)
G = .016″ (0.4064mm)
B = .014″ (0.3556mm)
High E = .011″ (0.2794mm)
A Shortcut To Quickly Adjust String Action
The previous section shows us how to go through all the checks & properly adjust your guitar’s string height. We recommend at least understanding what’s going on with your instrument & how it all works. If you’re short on time or don’t have the tools to measure string height, here’s a quick way to make adjustments.
All that’s required is a credit card, which most are standardized to be .0312in (.76mm) in thickness, you need some tape, and finally a hex key or allen wrench to adjust your bridge saddles.
Step 1
Place the card underneath the strings at the 12th fret so that the card sticks out of both sides of the fretboard.
Step 2
Cut about two 4in lengths of tape & attach 1 inch on each side of the credit card. Next you will bend the card to conform to the radius of the fretboard. Finally, with the card conformed to the radius, secure the tape to the back of the guitar’s neck to hold the radiused card in place.
Step 3
Adjust each individual saddle until the corresponding string buzzes only slightly onto the credit card when you pluck the string. Be sure to adjust both posts of the saddle to have an even height distribution. Finally be sure to tune the string you’re working on after each saddle adjustment. There you have it, a method under 5 minutes for adjusting string height!
How Guitar Action Height Affects Playability
Navigating the landscape of guitar action is much like finding the perfect fit for a pair of shoes; it needs to be just right for the best experience. The action—the gap between the strings and the fretboard—can either pave the way for a smooth performance or become a hurdle in your musical journey. Set it too high, and you’ll find yourself wrestling with the strings, which can tire your fingers and throw your notes out of tune. Too low, and you’ll be accompanied by the unwanted buzz of strings against frets, especially when you’re unleashing your inner rock star with aggressive strumming or tapping.
| Action Height | Playability | Tone | String Buzz |
|---|---|---|---|
| Low | Easy fretting, fast play | Brighter | More likely |
| Medium | Balanced feel | Balanced | Less likely |
| High | More effort to play | Fuller | Least likely |
The sweet spot of action height is subjective, shaped by your playing style and the genres that stir your soul. Blues and rock guitarists might lean towards a higher action for that rich sustain that fuels their soulful bends, while jazz and metal aficionados often favor a lower setup for lightning-fast licks. To dial in your ideal action, a bit of trial and error with the truss rod and bridge saddles goes a long way—think of it as a delicate dance with your instrument. Small, thoughtful adjustments can make a world of difference, ensuring your guitar not only plays well but also resonates with your personal touch.
High vs Low Action Height: Which is Better?
The debate between high and low action height boils down to personal preference, playing style, and musical genre. Here’s a concise comparison:
High Action: • Strings further from fretboard • Reduced string buzz • Better for aggressive playing and heavy distortion • Ideal for string bending and aggressive picking • Provides better control at higher volumes
Low Action: • Strings closer to fretboard • Easier fretting and smoother note transitions • Ideal for fast soloing and intricate chord progressions • Requires less finger pressure • Preferred by many professionals for ease of playability
Action Height Comparison Table:
| Aspect | High Action | Low Action |
|---|---|---|
| Playability | More challenging | Easier, faster |
| String Buzz | Less likely | More likely |
| Tone | Fuller, more resonant | Brighter, snappier |
| Finger Pressure | More required | Less required |
| Ideal For | Blues, rock, heavy strumming | Jazz, metal, fast soloing |
Ultimately, the best action height depends on your individual needs. Experiment with different setups, considering factors like string gauge, bridge type, and neck relief to find your optimal configuration.
Factors Affecting Changes in Action Height
Several key factors influence guitar action height, impacting playability and comfort:
- String Gauge: Thicker strings require higher action, while lighter strings allow for lower action.
- Playing Technique: Heavy bending or aggressive picking may need higher action to prevent fret buzz, while lighter touch benefits from lower action.
- Environmental Conditions: Temperature and humidity changes can cause wood to expand or contract, affecting neck curvature and string height.
- Neck Relief: The amount of curvature in the neck impacts overall action height.
- Bridge and Nut Setup: Improper adjustments can lead to uneven action across the fretboard.
Action Height Influence Table:
| Factor | Effect on Action Height |
|---|---|
| Heavier String Gauge | Increases |
| Lighter String Gauge | Decreases |
| Aggressive Playing | May require increase |
| High Humidity | Can increase |
| Low Humidity | Can decrease |
| Improper Neck Relief | Varies (uneven action) |
Regular maintenance and adjustments are crucial to maintain optimal action height as these factors change over time.
Frequently Asked Questions
How do I know if my guitar’s string action is too high or too low?
If your guitar feels challenging to play and requires excessive finger pressure to fret the notes, it’s likely that the action is too high. On the other hand, if you’re experiencing fret buzz or string rattle when you play certain strings or frets, chances are your action is set too low.
By paying attention to these symptoms and observing how your guitar feels and sounds while playing both plugged in and unplugged, you can determine whether an adjustment in action height might be necessary.
How high should the action be on electric guitar?
The ideal action height for an electric guitar typically falls within a range of 1.5-2.0 millimeters (or 0.06-0.08 inches) at the 12th fret. This allows for comfortable playability without excessive string buzz or difficulty in fretting notes. However, individual preferences and playing styles may vary, so it’s important to find the balance that suits you best.
What is considered low action on an electric guitar?
Low action on an electric guitar refers to a setup where the guitar strings are set closer to the fretboard, resulting in a shorter distance between the strings and the frets.
Typically, low action is achieved when the electric guitar string height at the 12th fret measures around 1.0-1.5 millimeters (or 0.04-0.06 inches). This setup allows for faster and easier fretting, facilitates techniques like bending and tapping, and can contribute to a smoother playing experience.
However, it’s essential to strike a balance between low action and avoiding string buzz or fretting out, as individual preferences and play styles may differ.
Is there a risk involved in adjusting the action height?
While it’s always advisable to consult with a skilled technician for major adjustments or repairs, there are some basic techniques you can try at home if you’re comfortable doing so. Remember though: proceed with caution!
If you’re uncertain about undertaking any adjustments yourself or lack experience with tools like files or truss rod wrenches, it’s best to seek professional guidance. A small mistake can lead to permanent damage that may require costly repairs in the long run.
Should I aim for consistent action height across all strings or adjust each string individually to preference?
Well, this depends on personal preference and musical style.
Some players prefer a slightly lower action on treble strings for easy bending and faster solos while keeping the bass strings slightly higher for increased resonance and power chords stability. Others may prefer a more even setup across all strings for balance when performing intricate chord progressions or complex fingerpicking patterns.
Ultimately, finding an ideal setup requires experimentation and finding what works best for your play style and musical needs.
Do expensive guitars have low action?
The cost of a guitar does not necessarily dictate its string action. However many expensive or high-end guitars do receive more attention to detail in terms of not only the materials used & craftsmanship, but are often set up for optimal playability right out of the box.
Conclusion
Mastering electric guitar action height is a crucial step in optimizing your instrument’s playability and tone. By understanding the factors that influence action height and learning to make precise adjustments, you can significantly enhance your playing experience.
Regular maintenance and willingness to experiment with different setups are key to finding your ideal action height. Interestingly, the quest for perfect action height reflects a broader truth in music: the constant balance between technical precision and artistic expression.
Just as musicians strive to find the sweet spot in their instrument’s setup, they also seek to balance technical skill with emotional delivery in their performances. Ultimately, the journey of perfecting your guitar’s action height is not just about improving your instrument, but about refining your relationship with music itself.